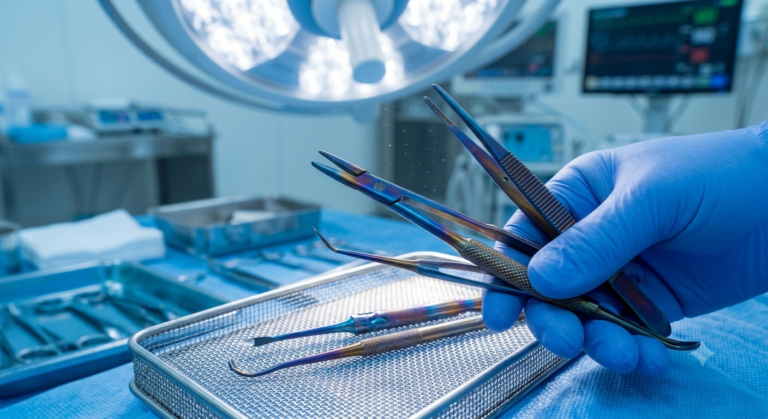
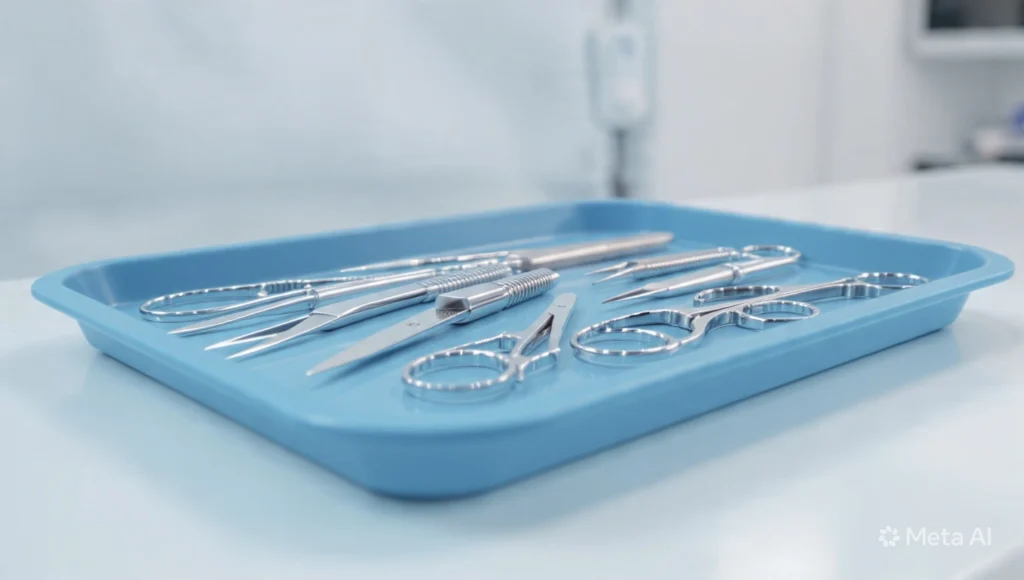
In a high-stakes surgical environment, the precision of a tool can directly influence patient outcomes. Whether it is a razor-sharp plastic surgery iris scissor, a delicate ophthalmic speculum, or a heavy duty orthopedic retractor, surgical instruments are significant capital investments.
However, even the highest-grade surgical steel isn’t completely indestructible. Without proper care, instruments face staining, pitting, and premature stiffness.
Maintaining your surgical inventory isn’t just about longevity, it is about ensuring optimal performance, tactile feedback, and absolute patient safety during every procedure. Here is a masterclass in extending the life of your surgical assets.
1. The Critical “Golden Window” (Pre-Cleaning)
The countdown to instrument degradation begins the moment a procedure ends. Blood, saline, and bodily fluids are highly corrosive. If left to dry, the proteins and chlorides break down the chromium oxide passivated layer, the invisible protective shield that makes stainless steel rust-resistant.
- Actionable Step: Rinse instruments under cool, demineralized water immediately after use.
- Pro Tip: Never let instruments sit in a dry tray. If decontamination is delayed, use a moistening gel or a damp towel to keep the bioburden from drying onto the steel.
2. Cleaning: Ultrasonic vs. Manual Mechanics
Cleaning is the most critical phase of tool maintenance; you cannot sterilize a tool that isn’t completely clean.
Manual Cleaning
- Use only neutral pH detergents (between 7.0 and 8.5). High alkaline or acidic cleaners will cause severe staining and pitting.
- Scrub with soft nylon brushes. Never use steel wool or wire brushes, as they scratch the polished surface, creating tiny microscopic crevices where bacteria and rust can thrive.
Ultrasonic Cleaning
This is the gold standard for intricate plastic surgery instruments. Ultrasonic waves create microscopic bubbles that implode (cavitation), pulling debris out of delicate hinges, box locks, and serrations that manual brushes can’t reach.
⚠️ Critical Rule: Always open hinges and box locks fully before placing tools in the ultrasonic cleaner. Do not overlap instruments, and never mix dissimilar metals (like stainless steel and brass) in the same cycle to prevent galvanic corrosion.
3. Proper Rinsing and Absolute Drying
A common mistake in busy sterilization departments is rushing the drying phase. Tap water contains minerals (like calcium, magnesium, and iron) that leave unsightly water spots or cause chemical staining when heated in an autoclave.
- Always perform the final rinse with distilled, deionized, or reverse-osmosis water.
- Ensure tools are completely dry before moving to sterilization or storage. Trapped moisture inside a closed box lock creates a breeding ground for rust during storage.
4. Lubrication: Keeping the Action Smooth
High quality surgical instruments should feel like an extension of the surgeon’s hand. If a needle holder sticks or a scissor feels stiff, it compromises precision.
- Use a water-soluble, antimicrobial surgical instrument lubricant (often called “milk”).
- Never use industrial oils, WD-40, or silicone-based lubricants, as they trap bacteria and prevent steam from directly contacting the steel during autoclaving.
- Apply lubricant to all moving parts, joints, and box locks weekly or after every major cleaning cycle.
5. Inspection and Functional Alignment
Before wrapping instruments for the autoclave, your sterile processing team should conduct a rigorous visual and functional inspection.
| Instrument Type | What to Check For | Functional Test |
| Scissors / Micro-cutters | Nicks on the blade, dull edges, loose rivets. | Should cleanly cut through latex or thin gauze all the way to the tip without snagging. |
| Needle Holders / Forceps | Misaligned jaws, worn-out tungsten carbide inserts. | Clamp on a suture needle; the needle should not rotate or slip under moderate pressure. |
| Retractors & Clamps | Stress cracks at the box lock, alignment of teeth. | Ensure the ratchet locks securely and doesn’t spring open unexpectedly. |
6. Smart Autoclaving Practices
Steam sterilization is tough on instruments, but adhering to exact parameters preserves their structural integrity.
- Do not overload the autoclave. Crowding prevents proper steam circulation and leads to uneven heating and wet packs.
- Keep hinges open. Lockable instruments must be autoclaved in an un-ratcheted, open position to allow steam to penetrate the joint and prevent the metal from expanding unequally under tension, which causes hairline fractures.
The Bottom Line
Premium surgical instruments are engineered to last for decades, but their lifespan is entirely dependent on the discipline of the processing cycle. By implementing these rigorous cleaning, lubricating, and inspection steps, healthcare facilities can dramatically reduce replacement costs, minimize intraoperative tool failures, and maintain the precise tactile feel that surgeons rely on every single day.
Looking for high-precision, custom-manufactured surgical and plastic surgery instruments built to withstand rigorous sterilization cycles? Contact our B2B engineering team today to review our latest catalog or request a custom manufacturing quote.